|
Experiential learning resources for the innovative educator
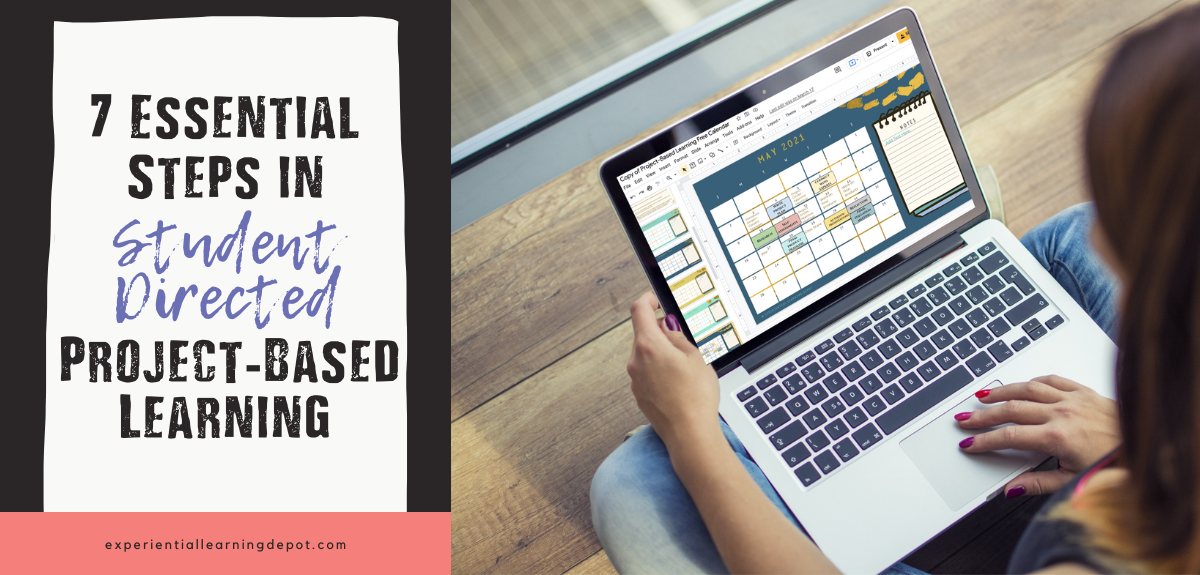
What are the essential project-based learning steps, especially those steps involved in student-directed PBL?
Self-directed project-based learning is an awesome learning experience for everyone, giving students choice and voice in the PBL design and execution processes. But what steps do they need to take? What steps do YOU need to take as a facilitator? Read on! 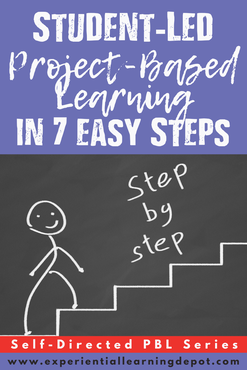
I am a former high school project-based learning facilitator of ten years, meaning that my students designed and led their own PBLs with me as their mentor and guide.
As an educator with an experiential philosophy, I have found student-led project-based to be the most effective way to engage teenagers. Part of the facilitation of those experiences means offering the structure and tools for students to successfully direct their own experiences. This post is all about managing those details. You are a facilitator of learning. The trick is knowing how to plan, coordinate, and manage self directed project-based learning activities. How do you get started? What do you do next? How do you wrap up? What are the steps in project-based learning? It's super easy when you know how to do it and have the tools to streamline the experience! In my ten years as a project-based educator, I have refined this routine and would love to share it with you in hopes of making the process as smooth as possible. Before reading on, do the following:
7 Important Project-Based Learning Steps for Student-Led Learners
"Question. Explore. Create. Share." This series of actions act as the foundation of self-directed PBL in my classroom. Think of these actions as you plan and coordinate these experiences.

Step 1: Project Design
The elements of self-directed project-based learning leave room for student choice.
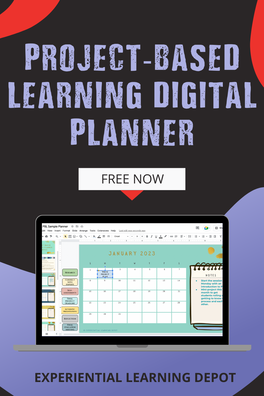
Let students play a role in designing the experience by choosing their own topic or subtopic, determining how they will gather information, their authentic audience, how they will share new skills and knowledge with that audience, their own assessment criteria, and more. My students fill out a "project plan" that includes all of these details. All of my PBL resources include this project design template. Planning Step 1: Grab yourfree planner and scroll to the correct month. Drag and drop the "Write Project Plan" element to the date that best suits your schedule. On this date, students will spend time designing their own PBLs. Add important details in the notes section of the calendar. You can also add more specific steps to the text boxes included under each date. 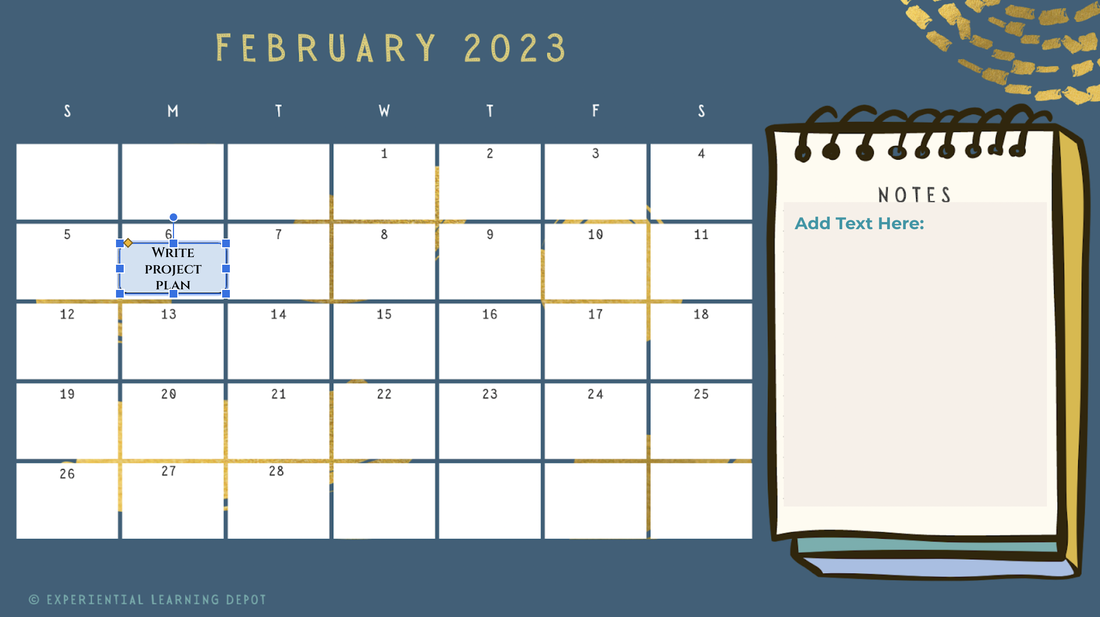
Step 2: Research, Collaborations, and Learning Activities
Once students have a project design in place and a proposal completed, the next project-based learning step is to gather information on their chosen topics. Students write driving questions and inquiry research questions right into their project plans.
Students will review a variety of primary resources, connect with community experts, and participate in community events or activities that would deepen their understanding of the topic. One of the major roles of a project-based educator is to organize authentic learning experiences that are relevant to the project topic at hand. Add those experiences, such as a community speaker, to your planner! Planning Step 2: Drag and drop the "Research" and the "Connect with Experts" elements to dates that best suit your schedule. Add details in the notes section of the calendar. You can also add more specific steps to the text boxes included under each date, such as "virtual speaker 9 am". 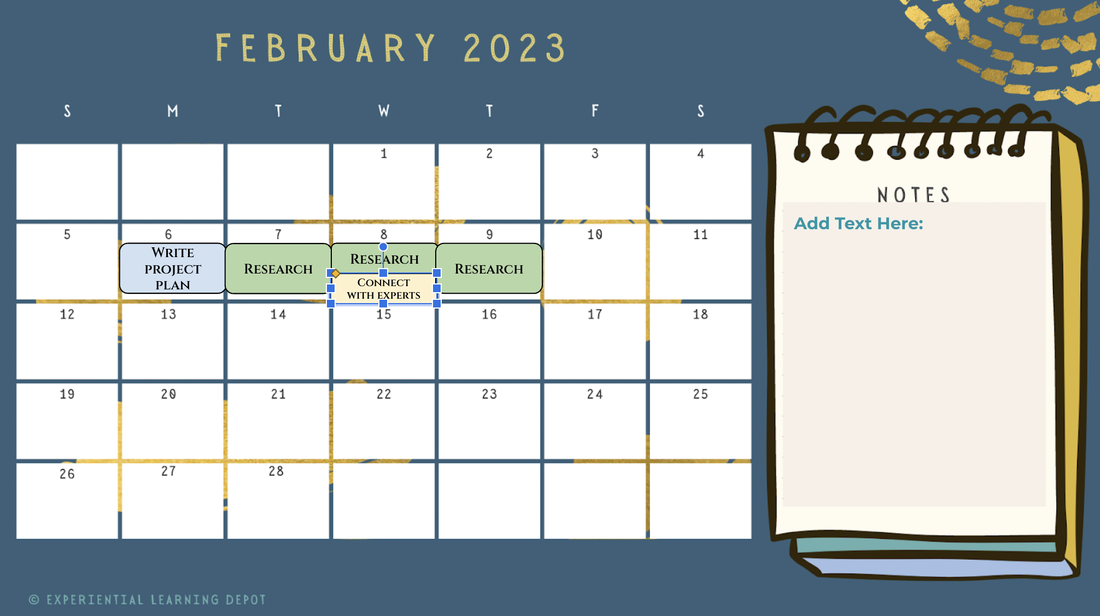
Step 3. Progress Feedback
Throughout the project process, students will self- and peer-assess using a generic project assessment or the student-generated assessment (both included in my PBL tool kit).
For more information on self-generated PBL evals, check out this free training video on student-created PBL rubrics. Planning Step 3: Drag and drop the "Self-Assessment" element to dates that best suit your schedule. Copy and paste this element if students will self-assess more than once. You can add peer assessments to your calendar by typing directly into the text boxes included under each date. Schedule times for you to go over self-assessments with students as well. 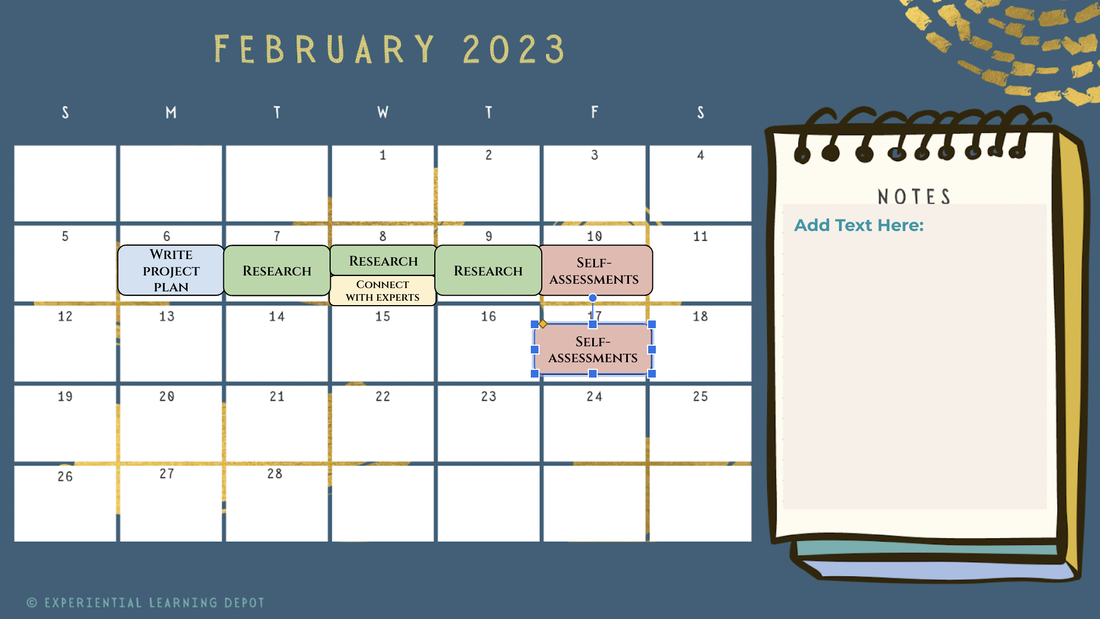
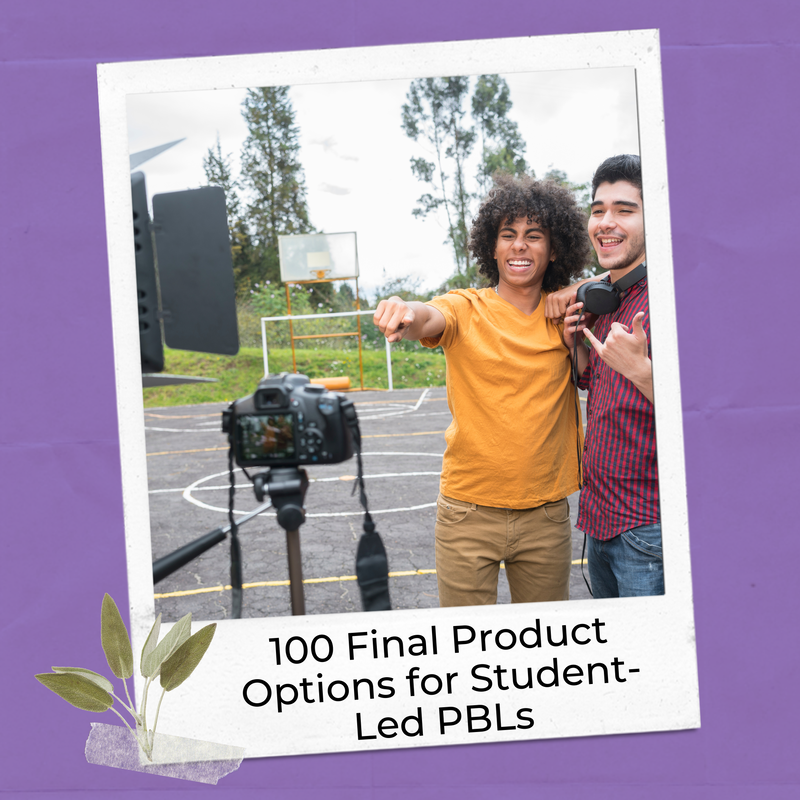
Step 4: Create Final Products
An innovative final product is the assembly of information into an end product that demonstrates learning and offers something to an authentic audience. Final product creation is an important project-based learning step. It takes several rounds of drafts and feedback sessions.
Final product examples include a blog, an advertisement, a documentary, a photo journal, etc. Each of my themed project-based learning resources include final product options for students to choose from. Planning Step 4: Drag and drop the "Final Product Deadline" element to an appropriate date. Make sure to communicate this deadline to students. You can also type in "final product work days" if that helps you stay organized. ***You may share your planner with students using Google Classroom so that everyone can see the plan and deadlines if you wish. You can also share a blank copy of the template with each student using Google Classroom to use and fill in as their own. They can write their own project deadlines and goals directly into their own copy of the planner. 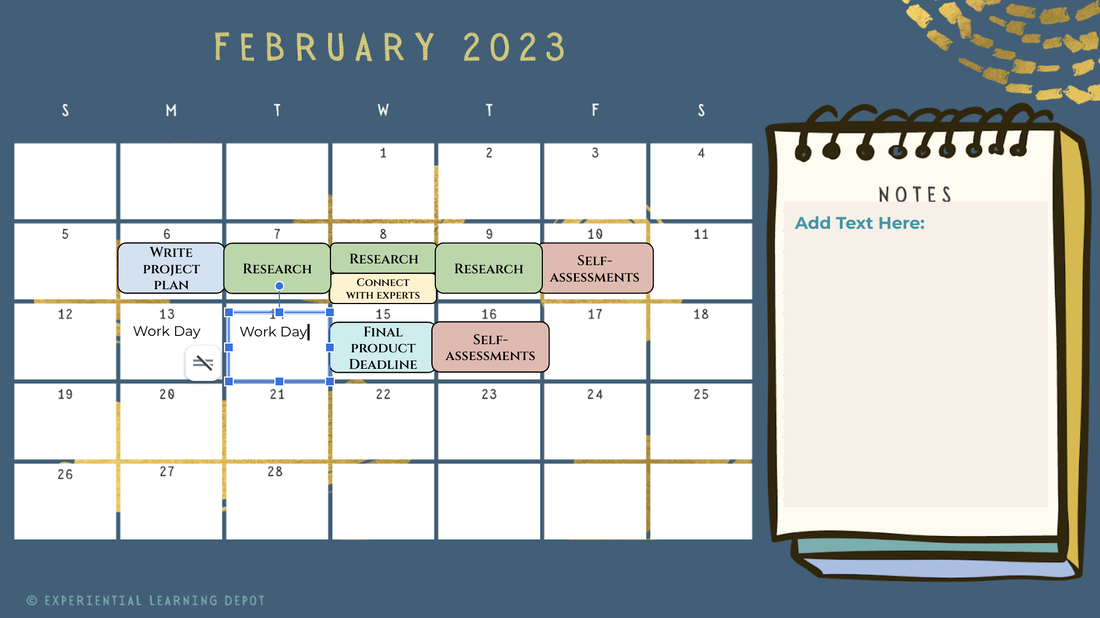
Step 5: Authentic Presentations
An authentic presentation is one where students share their new skills and knowledge with a public audience that is relevant to the PBL topic or driving question. Authentic presentations are essential project-based learning steps because authenticity is part of was separates PBL from other general projects.
For example, if a student creates a brochure about a career of interest, they might leave a stack of their brochures at a community career center. Once students have completed their projects and assembled their final products, they can share that product or information with their authentic audience. Planning Step 5: Drag and drop the "Authentic Presentation" element to the date that best suits your schedule. You might want to add that element to note the deadline for authentic presentations or as the date that an authentic presentation event will take place. For example, my students do a heritage PBL every year, and they authentically present at a community exhibition night that I organize. I would add that date and important side notes about that event to my planner. 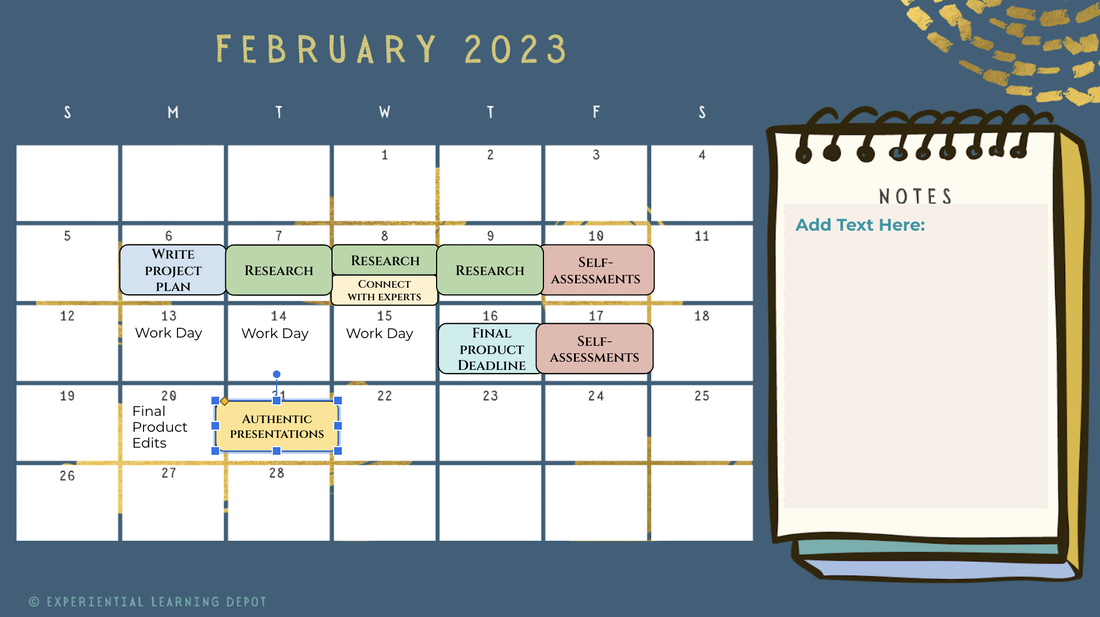
Step 6: Reflections
After students give their authentic presentations, the next project-based learning step is to write a final learning reflection. The reflection piece is critical. They will not only look back on the content and what they've learned, but they will reflect on the experience itself. They will analyze their own strengths and weaknesses throughout the process and build on that moving forward. All of my PBLs include a reflection.
Planning Step 6: Drag and drop the "Reflection" element to a date that best suits your schedule. It could represent the reflection deadline or time set aside in class to complete reflections. 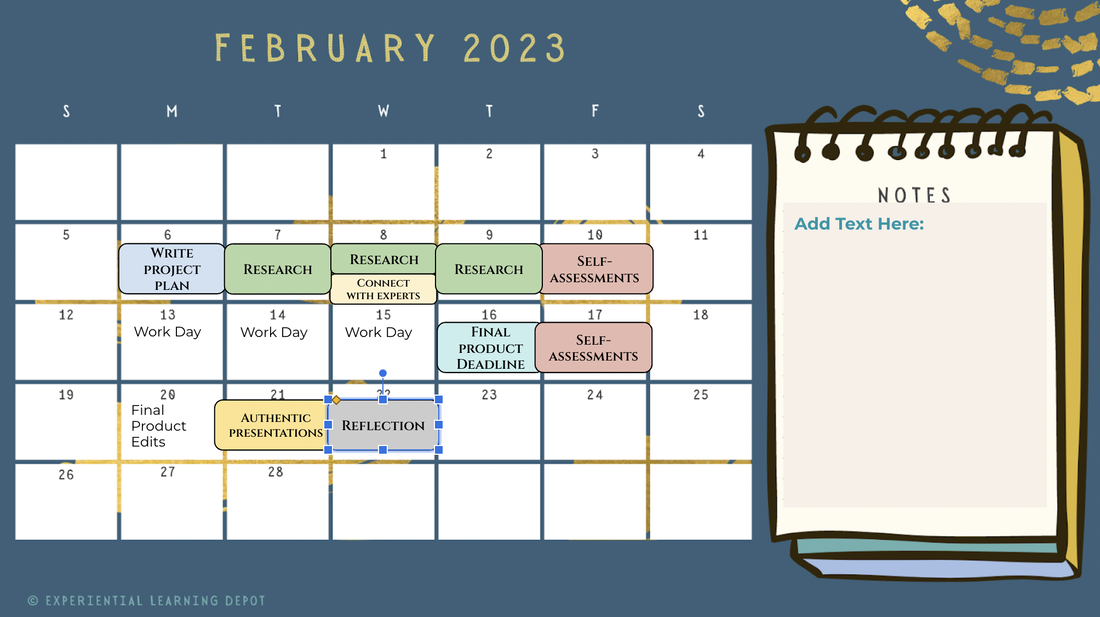
Step 7: Final Evaluations
Once students have completed projects, presented to an authentic audience, and reflected on the experience, the next project-based learning step is to present to you and the class. Audience members can provide feedback and if you wish, you may complete their final rubric at this time as well.
I prefer to meet separately with each student after their presentations to go over their rubrics one-on-one. 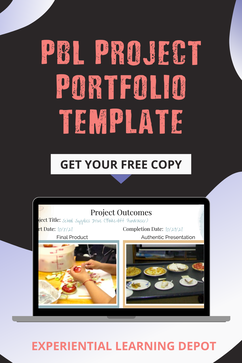
Once students have completed their final evaluations they add learning outcomes to their project-based learning assessment portfolios. This is a great portfolio to showcase of all PBL experiences over the course of a session, and my copy is yours for free! A copy of the portfolio template is included in the same email as your free PBL planner. You only need to sign up once.
Planning Step 7: Drag and drop the "Final Evaluations" element to dates that best suit your schedule. 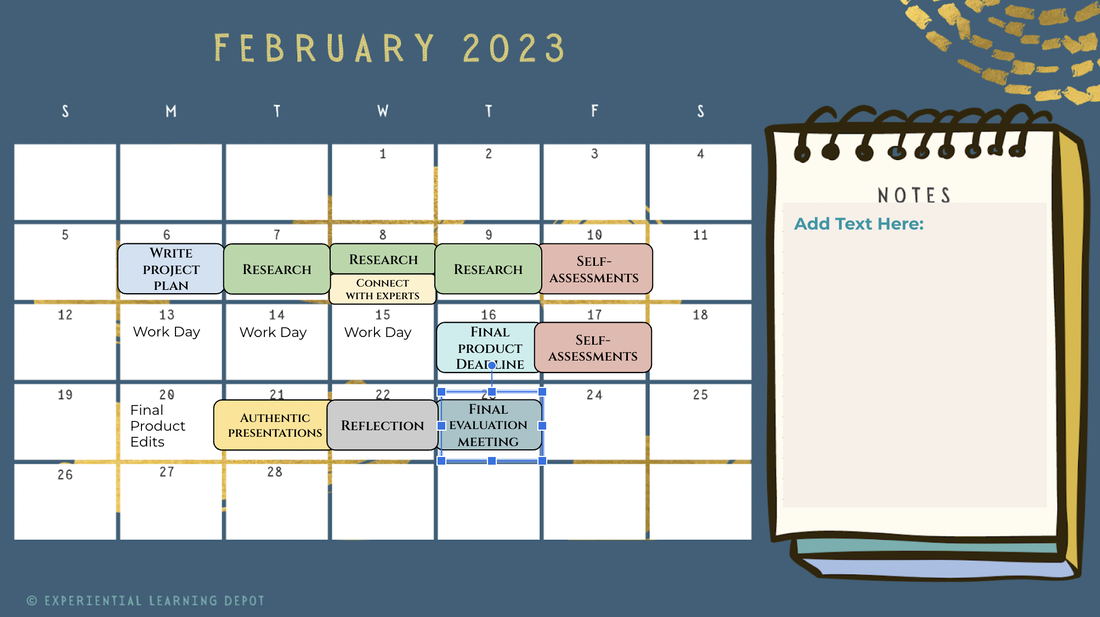
These seven project-based learning steps help set the stage for seamless student-led PBL. They can, however, be broken down into more specific steps.
The free PBL planner is great for covering the basics! If you're looking for a more detailed, guided experience, check out my full project-based learning planner that also includes a a step-by-step facilitation guide, weekly and daily planners, as well as sign up forms for approval meetings, evaluation meetings and more. As always, reach out with questions about my resources and continue to follow along on this self-directed project-based learning blog series! 
Resources to Save you Time
Project-Based Learning Blog Posts
Join our experiential learning Facebook group!
Did you know there is an experiential learning Facebook group? Check that out - Experiential Learning Community for K12 Teachers - and join in the discussion about experiential learning ideas! Find us on social media! Follow Experiential Learning Depot on Pinterest, Youtube, and Instagram for more on experiential education, and check out my shop for experiential learning resources.
1 Comment
|
Blog IntentTo provide innovative educational resources for educators, parents, and students, that go beyond lecture and worksheets. AuthorSara Segar, experiential life-science educator and advisor, curriculum writer, and mother of two. 
Categories
All
|


 RSS Feed