|
Experiential learning resources for the innovative educator
My students love maker projects. They love identifying problems, brainstorming solutions, and creatively solving those problems through the phases of design thinking in education.
What is Design Thinking in Education?
Design thinking in education is not new but has been gaining traction in recent years. Teachers are looking for 21st-century skill-building opportunities such as creative problem-solving, and learners are looking to work with their hands in the wake of distance learning.
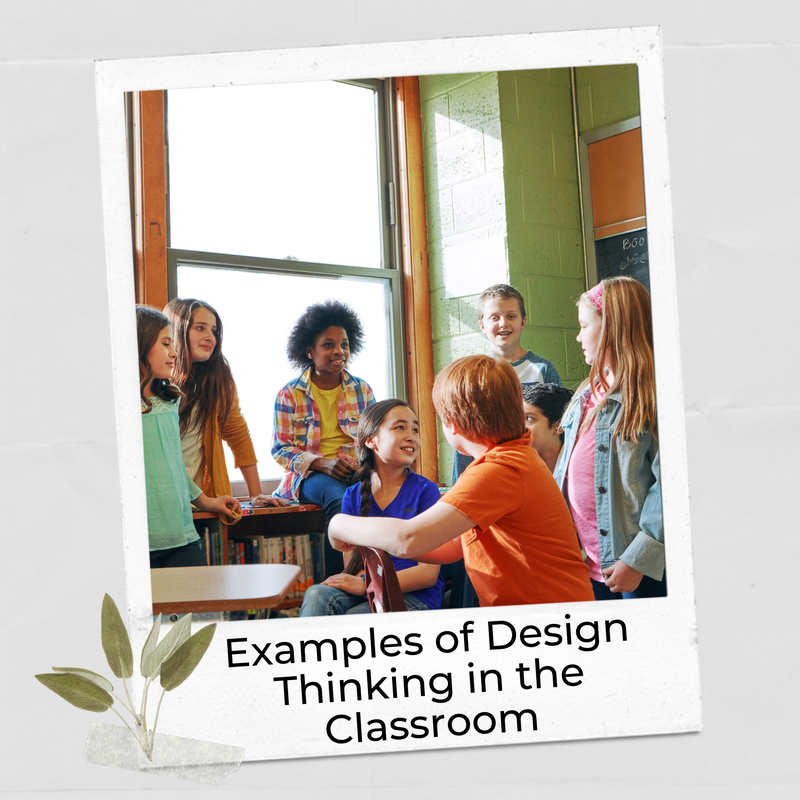
Design thinking in education offers just that. Students gain essential skills and content knowledge by exploring relevant, real-world issues, and solving those problems through creative design. But what does design thinking look like in the context of a classroom or homeschool learning environment? Students design and produce a solution to a problem. You might start by having students identify a problem that is relevant in their lives and design a product that solves that problem. For example, you could ask students to identify an issue related to their bedrooms. A student might notice that they consistently struggle to put a fitted sheet on the top bunk of their bunk bed. This isn't a complex global problem, but it's a great way to start. Those students would then design, create, and test a product that solves the problem of quickly and easily getting a fitted sheet on the mattress of the top bunk. As students get more comfortable and confident with the design thinking process, they can begin tackling more complex real-world problems. For example, students might identify through observation and communication with neighbors that residents have been avoiding swimming at the beach of the neighborhood lake because of quality quality issues. Those students would then tackle that problem through the phases of design thinking in education, which I elaborate on below.
What are the Benefits of Design Thinking in Education?
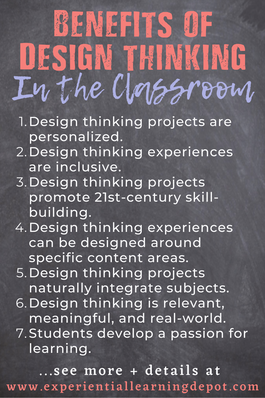
There are many benefits to including design thinking in education, and they all revolve around the theme of best serving 21st-century learners:
What are the Phases of Design Thinking in Education?
Design thinking is often said to have five phases:
The process of design thinking itself includes these five phases, but I have added a couple more phases to this post that specifically apply to design thinking in an educational context.
The following phases are outlined as a framework for delivering design thinking experiences in your classroom or homeschool.
1. Empathize:
The empathize phase offers students the opportunity to explore and identify specific issues. Students do this by observing their own experiences, the experiences of their peers, the experiences of community members, and others directly engaged in a problem.
For example, if a student observes that community residents haven't been swimming in the neighborhood lake, your student might go out and talk to those residents to figure out why that might be. Your student may assume that it is because of algae itself, but through conversation, the student discovers that residents are not swimming because fish die-off has resulted in the presence of dead fish along the shoreline. The empathy phase is very important because it squashes assumptions and gets down to the real issue. Yes, fish die-off may be in part as a result of algal blooms, but designing and developing an algae preventative or control is only one approach to solving the actual problem, which as it turns out, is dead fish. Misunderstanding the problem leads to solving a problem that may not even exist. Therefore, understanding and empathizing with those that have or are experiencing a problem is important for designing and developing an effective solution.
2. Define the Problem:
At this point in the design thinking process, students have details about the problem that they have gathered in the empathize phase.
Now students can pull together the information they have about the issue and turn it into a problem statement. They define the problem in a sentence or two. For example, "The residents of the So and So Lake community are not swimming in the lake because of the presence of dead fish along the beach and designated swimming area." Students can get more detailed if they wish, adding any information they might have about why fish die-off is happening, for example. But the problem definition should be short and sweet and written as a statement.
3. Ideate:
Students brainstorm solutions to the defined problem in the ideation phase. They bring together all of the information and insight they acquired during the empathize phase and look to their problem statement as a guide for generating a variety of solutions.
Students can ideate using any number of approaches. Students can create a concept map, brain dump all of their ideas into a list, chart the pros and cons of a variety of solutions, and so on. There are a variety of ways to get ideas out there. I like to let my students choose how they will approach the ideation phase. Encourage students to look at the problem from a variety of angles as well. For example, students could try to design and create a method of preventing fish die-off, reduce the numbers of dead fish along the shoreline, block the dead fish from reaching the beach area, or direct their efforts toward the source of the issue rather than the fish themselves (ex: tackling the fertilizer issue that may be contributing to algal blooms, and therefore, fish die-off).
4. Prototype:
The prototype phase is the initial design phase. Students design and create one or more prototypes to play around with.
Students build one or more prototypes and play around with them to identify their limitations, hangups, issues, flaws, and even successes. A student might find a problem in the prototype upon first use, so the student modifies the existing prototype to solve that issue. A student might find an element of their design that has proven successful and continues to build off of that strength. I like to look at prototypes as drafts. You create the first draft and tweak and adjust as you go until the final product effectively solves the defined problem.
5. Test:
I love this phase! Students test their products on real and relevant people.
I encourage you to have students test their final products on those that have experienced the problem such as those that they empathized with in the first phase of design thinking. Have real people, in real-time, that have a real relationship with the defined problem use and offer feedback on the products that your students have created. For example, if the problem is getting that last corner of a fitted sheet on the mattress of the top bunk of a bunk bed, have people with bunkbeds try it out! How does the user feel about the product? Did the product mitigate the problem? Was the experience with the product a good or bad one? Did the product work? Was the product used as it was intended to be used? Did the user have to alter the product or experience for it to work? If so, in what way? Then students use this insight and feedback to further refine their product so that it effectively solves the problem that it is intended to solve.
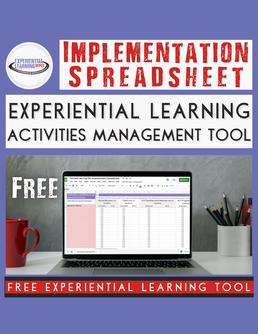
Grab your free experiential learning management tool! This spreadsheet includes pages to manage a variety of experiential learning activities, including one specifically made for the phases of design thinking projects.
6. Community Experts:
Including community experts is an important aspect of experiential learning. So, although including community experts is not included in the framework of design learning, it is a very helpful addition to design thinking in an educational context.
Including community experts in the experience makes learning more authentic and community-based. Community experts can also offer insight and act as important collaborators. For example, if students determine that the best way to prevent dead fish from littering the swimming area of a community beach is to create a contraption that keeps fish from entering the beach area entirely, they will have to work alongside those that make decisions about the lake and/or beach area such as the parks department or the DNR. I think it's important to have experts and collaborators within reach during all phases of the design thinking process in an educational context. Those experts act as additional sources of information, guidance, feedback, and in some circumstances such as the example above, the permission to employ the solution (such as altering the lakeshore). Treat community experts as project partners. Working with the community to solve complex community issues is so important. In fact, I would say it's required. Working with community experts to solve the problem of getting a sheet on a bunk bed may not be as necessary, but could definitely still be helpful.
7. Sharing and Reflecting:
An important part of any experiential learning activity, including design thinking projects, is to share or utilize the final product. I like to have my students actually use the products that they have created to solve the problem at hand.
That might mean putting the product into place, donating the product to community members, creating a DIY video to help the masses make the product themselves, and more. Getting the product out there to do its intended job (solving the defined problem) is so important! That authenticity encourages quality work and further connects students to real-world, relevant, and meaningful community issues. Reflection is another important element of experiential learning, and design thinking as the approach is no exception. Have students look back on their experiences. Students should reflect on challenges that they faced throughout the experience and how they overcame those challenges. They reflect on strengths that they personally brought to the table as well as the strengths of the team as a whole. Reflection can happen in a variety of ways including small group dialogue, written reflections, reflection essays, and more.
The phases of design thinking in education and implementing those phases in your classroom or homeschool setting is such a great way to excite and engage students of all ages in learning.
Give the experience a try with your learners and just see what happens! That is the beauty and strength of design thinking projects; students try and fail, try and fail, again, and ultimately learn from trial and error. Good luck, and as always, reach out with any questions.
Resources for Design Thinking in Education:
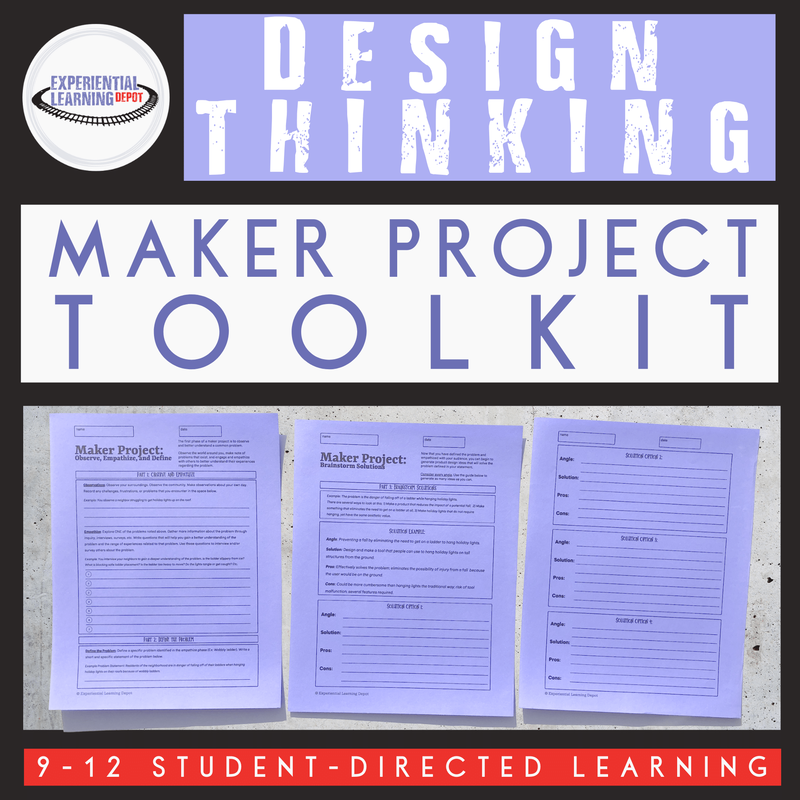
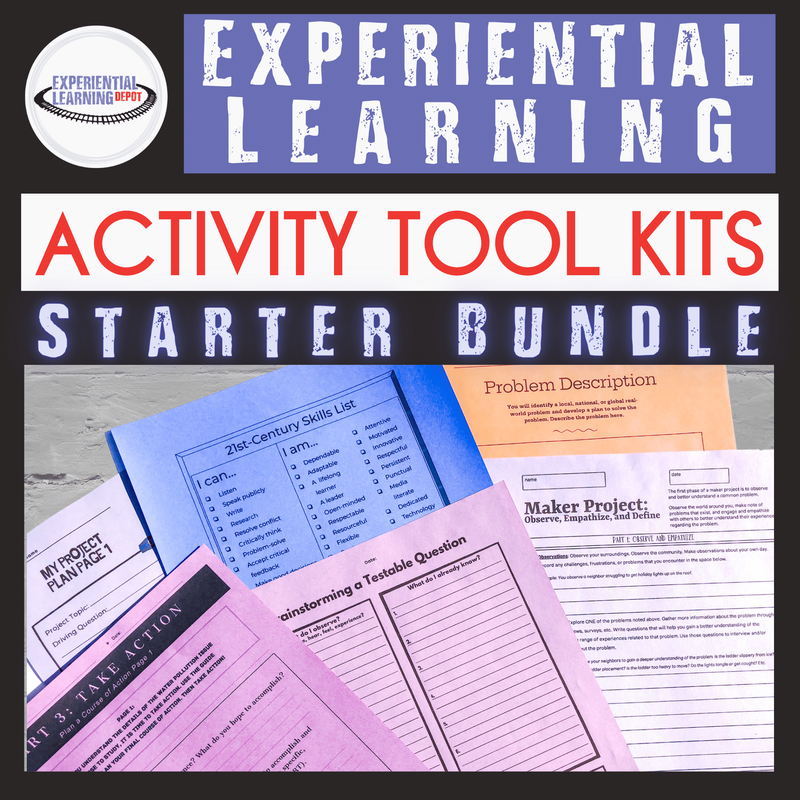
Have high school students self-direct any number of design thinking projects using the design thinking maker project tool kit below. You can also check out the variety of ready-made design thinking project lesson plans. Finally, grab the experiential learning activities tool kit bundle, which includes the maker project tool kit as well as six other experiential learning activity tool kits.
Blog Posts Relevant to Design Thinking in Education:
Join our Experiential Education Facebook Group!
Did you know there is an experiential learning Facebook group? Check that out - Experiential Learning Community for K12 Teachers - and join in the discussion about experiential learning ideas such as real world learning in the classroom. Let's Get Social! Follow Experiential Learning Depot on Pinterest, Facebook, Youtube, and Instagram for more on experiential education. Observe. Question. Explore. Share.
0 Comments
Your comment will be posted after it is approved.
Leave a Reply. |
Blog IntentTo provide innovative educational resources for educators, parents, and students, that go beyond lecture and worksheets. AuthorSara Segar, experiential life-science educator and advisor, curriculum writer, and mother of two. Categories
All
|



 RSS Feed