|
Experiential learning resources for the innovative educator
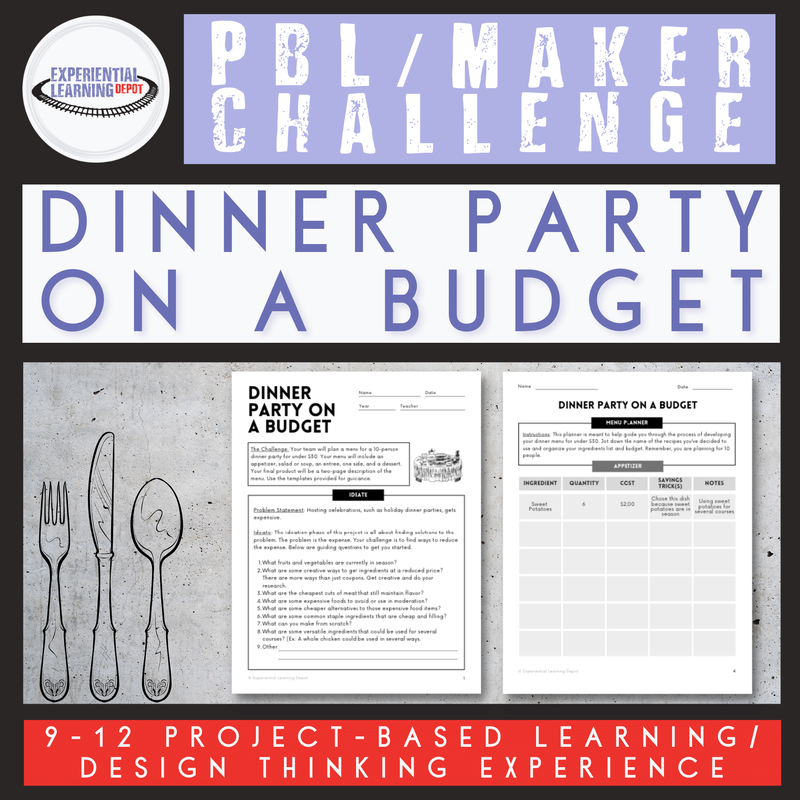
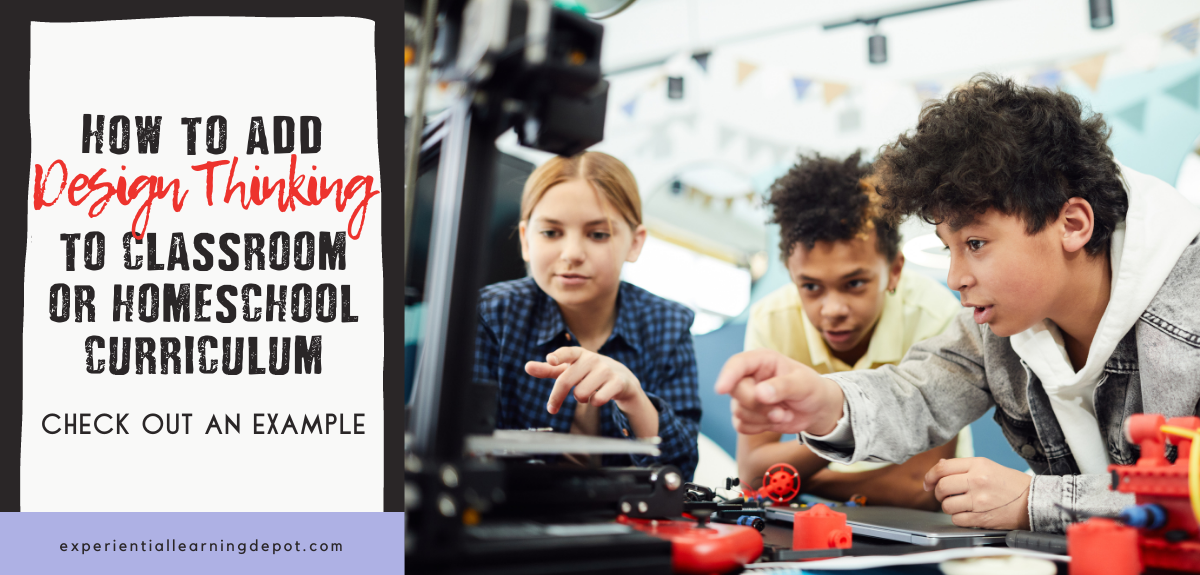 A while ago I came across a webinar on EdWeb about design thinking in the classroom. I was instantly hooked on the goal of bringing design thinking into my classroom experience. What is design thinking in education? What does it look like in a classroom? This blog post walks you through the steps using a real-world design thinking example. Let's go! 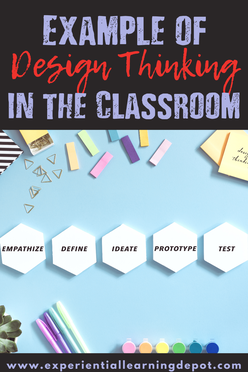 I have done a lot of "making" with my students and my own children in the past, but I was missing some critical pieces of the design thinking framework, one of which was to connect experiences with real-world problems. The general idea behind design thinking is that learners develop skills and content by observing and identifying problems before them. They then solve these real-world problems by designing and creating solutions. I am an experiential educator, so every action my students take is a step toward learning experiences that are entirely student-led. Therefore, I created a Design Thinking Tool Kit that combines the principles of self-led design thinking, problem-based learning, and project-based learning. 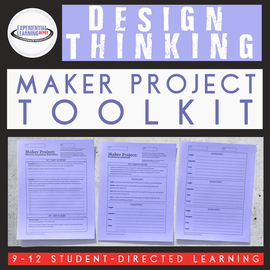 This tool kit is designed to walk middle and high school learners through design thinking projects while giving them the freedom to lead the experience. Students identify a problem and brainstorm innovative solutions. They design and build a prototype, test it, tweak it, and use the refined final outcome to make a positive impact on the community. So, how to add design thinking to your curriculum? Start by purchasing my maker tool kit. Simply distribute the resource to your students and watch them thrive! This resource has all of the materials to help gradually move students toward self-directed making experiences. Then, grab my free experiential learning tools, which includes an implementation spreadsheet specifically for student-led design thinking experiences. 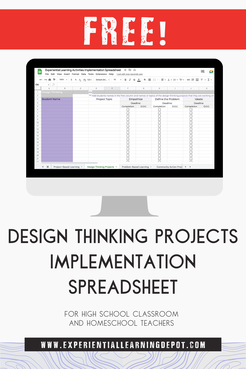 If you and/or your students are new to design thinking as a learning tool, or student-directed learning for that matter, consider starting students off with a specific problem to solve. You present the problem, your students do the rest. Once learners become more comfortable with the process, you can begin to ask them to identify problems around a theme, such as "fall" or "morning routine". If you have the flexibility, students can eventually self-direct the entire experience. They identify problems on their own, free from your influence. OR you can all dive in head first. One of the best things about design thinking is that failure is not only an option, but is encouraged. Let them learn through experience!  Design Thinking Example: How to Add Design Thinking to Your CurriculumUse the following example, along with the design thinking tool kit, to help inspire and facilitate the experience: 1. Observe and Empathize In the empathize phase, learners identify a problem and "empathize" with those impacted by the problem. You might present students with a specific problem, or they observe a problem on their own. Either way, this step is intended to help learners better understand the problem by communicating with those directly impacted by it. Example: A student notices decorative pumpkins splattered across roads and sidewalks in her neighborhood. Check out this free problem identification resource. The purpose is to help beginners observe and identify problems to solve. This is a skill that takes practice, time, and scaffolding to develop. 2. Define the Problem At this point students have discussed the problem with a variety of people, so can hone in on the specifics. They define the problem with a statement, which drives the remainder of the experience. Example: Squirrels are taking decorative pumpkins from neighbors' doorsteps and eating them. 3. Ideate The ideation phase is my favorite part! Students begin to brainstorm product ideas that could solve the defined problem. Students "think outside the box"; they stray from the obvious, looking at the solving the problem from a variety of angles. Example: 1) Create a barrier between the pumpkins and the squirrels, 2) Develop a nontoxic, but annoying substance to paint on the pumpkins to deter squirrels from eating them, 3) Design and create a pumpkin holder or stand that makes it difficult for squirrels to access, etc. 4. Prototype Once students have settled on a product idea or two, they make prototypes of those initial ideas. Students will experience a series of challenges and obstacles during the design and making phases, they work through the issues, and then make modifications. Example: The student creates a prototype of a decorative wire pumpkin holder that prevents squirrels from carrying bits and pieces of the pumpkins away to eat. 5. Test Now that students have created a prototype, they can test their initial design on a relevant audience. Students gather feedback from their test group and refine their product based on that feedback. Students go through this process of testing and adjusting, testing and adjusting, testing and adjusting, until they have a product that effectively solves the defined problem. Example: The student might gather from the test group that their pumpkin holder solves the problem but isn't attractive. Residents have articulated that they wouldn't purchase the product because they don't like the look. The test group makes recommendations and the student makes adjustments based on those recommendations. After students have completed the experience I have them reflect, share their experience and final product with the class, and put their final product to use (usually by donating it or collaborating with an organization to put the solution into place in the community.) Adding Design Thinking to Your Classroom or Homeschool Experience: Design thinking can be really fun. It also helps students build incredible skills such as creativity and problem-solving. The design thinking example that I offered in this post is simple and not all that complex of a problem, but it's a great way to start using design thinking in your curriculum. Eventually students can tackle more complex community issues such as an invasive species problem or local traffic issues. Students can even incorporate design thinking into more abstract community problems such as youth unemployment. Designing a solution to a problem like that wouldn't necessarily result in a physical product. Students might instead, through the empathize phase, discover that youth unemployment in their community is largely due to lack of experience, skills, and community relationships. Your students, then, brainstorm ways to solve this problem and determine that they will design and coordinate a community mentorship program between young people and local businesses. There are a variety of examples of design thinking in action in an education context. This blog post just names a few. You will discover, especially if you use my student-led design thinking project tool kit, that students will lead these experiences, and it's absolutely awesome to witness! Good luck, and as always, reach out with questions anytime! 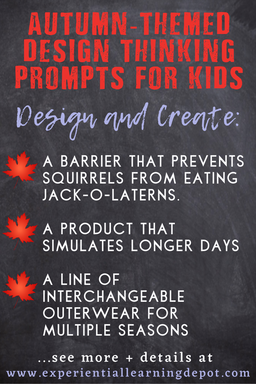 Autumn-Themed Design Thinking Prompts: One way to get started with design thinking in your classroom or homeschool is to offer students prompts. This approach scaffolds until they are experienced enough to identify community problems on their own. Here are a few design thinking example prompts. I decided to associate them with the current season here in Minnesota. Use this as inspiration to do the same. Take any theme such as the season, a holiday, content (such as environmental science issues), etc. Design and create... 1. A barrier that prevents squirrels from eating the pumpkins on your doorstep. 2. A product that simulates longer days. 3. A line of interchangeable outerwear. 4. A health campaign for treat season. 5. A tool that removes the guts of a pumpkin quickly and mess-free. 6. An outdoor game that utilizes the elements of fall. 7. Any number of tools that help effectively collect and remove leaves from lawns. Design Thinking Student Resources and Tools: Related Blog Posts: Join our Experiential Education Facebook Group!
Did you know there is an experiential learning Facebook group? Check that out - Experiential Learning Community for K12 Teachers - and join in the discussion about experiential learning ideas such as real world learning in the classroom. Let's Get Social! Follow Experiential Learning Depot on Pinterest, Facebook, Youtube, and Instagram for more on experiential education.
3 Comments
Very well articulated and application of design thinking in education.
Sara (Experiential Learning Depot)
3/1/2021 05:49:29 am
I love how you put that, thank you Jayant! 3/23/2021 05:15:36 am
It is very useful and informative post. Thanks for sharinf this. Your comment will be posted after it is approved.
Leave a Reply. |
Blog IntentTo provide innovative educational resources for educators, parents, and students, that go beyond lecture and worksheets. AuthorSara Segar, experiential life-science educator and advisor, curriculum writer, and mother of two. 
Categories
All
|

 RSS Feed